Do you take your coffee way too seriously like we do? Well, if you want to really uplift your morning routine, you can learn how to make latte art like a pro! We’ve collected some of the best latte art tutorials online so you can really train up and impress your friends.
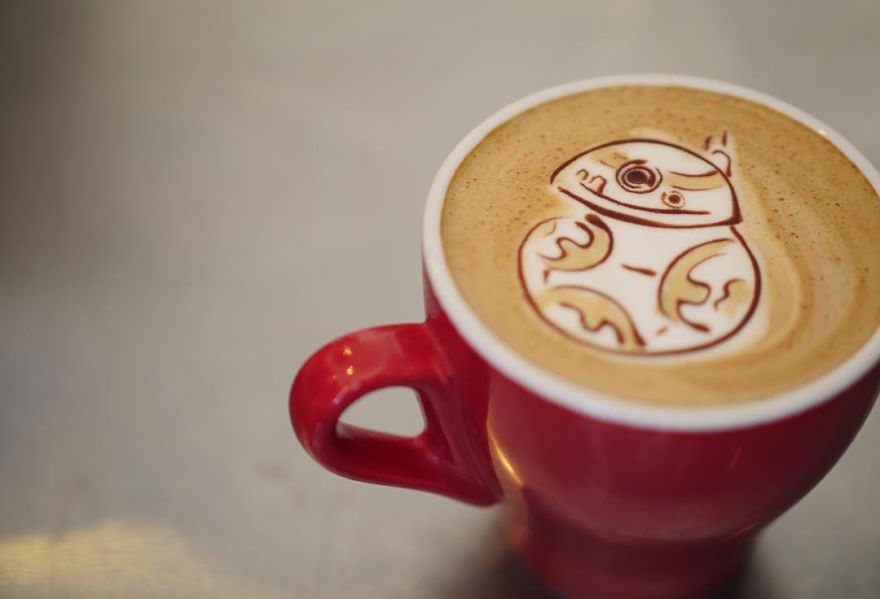 Source: Bored Panda
What you need:
- An espresso machine with a conventional, commercial-style steam wand: This is where you can spend a hundred, or many hundreds of dollars. Keep in mind how often you want to use it. Also take the time to become acquainted with the parts, how to clean them, and how to occasionally replace the steam tips. It’s not just about buying, but understanding your equipment. Optimally, you’ll want a machine that can brew the espresso and steam the milk at the same time. Another option of coarse is a handheld frother, which may give different results. (Note that those devices may give you a large amount of bubbles, however.)
- Pitcher for foaming the milk: Frothing pitchers are typically stainless steel, and sometimes come in a set with the nicer machines. If not, they’re fairly cheap. Some foaming pitchers will sometimes have measurements in ounces and milliliters on the inside and/or a temperature gauge, which is handy for beginners!
- Coffee mug: Usually a round coffee cup with a handle is easier to work with. A saucer helps the atheistic and also helps accidentally shifting the artwork.
- Espresso: You want to use a good-quality coffee that produces a deep, dark espresso with a decent crema, which is the name for the small layer of foam that sits on top of fresh espresso.
- Whole milk: Go with fat. Doing foam art with skim milk is harder – you can’t necessarily pull off the same tricks.
A Simple Rundown of How To Do Latte Art
Before you get started: Sometimes, it’s useful to practice pouring from your pitcher to your mug with water. That way you can experiment with speed and direction of your pour without wasting milk or espresso. Practice going fast and slow as well as stopping and starting. Then, practice going up and down with the pitcher. Finally, practice your wiggle. These are all important things to practice in order for you to pull off your first latte art – the monk’s head or heart.
1. Brew your espresso.
Optimally, you’d want to brew and steam at the same time, but if you have to chose, experts say that you should brew first. (The espresso’s crema will hold up longer than the time it takes for the milk to separate.)
Either way, you want the espresso to go on the bottom, as is typical with a latte. The quantities and order in which you pour your espresso and your foamed milk changes the type of coffee style you’re making. Here’s a helpful guide to the many types of coffees there are in the world:
 Source and FULL SIZE INFOGRAPHIC: Around the World in 80 Coffees
Typically a latte is comprised of one shot of espresso in the bottom of your cup. If you want it to be stronger, do a double shot. (More than that gets into flat white territory, which is a powerful Australian drink.)
2. Foam the milk.
You must always clean your wand after every use. Do that first! Purge out water and condensation in a spare pitcher by pulsing the button on and off a few times, and put the spare pitcher off to the side. Be careful of that dangerous steam by pointing it away from you, of course.
The rule of thumb is to do roughly 5 ounces or more of whole milk for every espresso shot. Make sure the level of the milk stays well under the spout of the pitcher.
Put the steam tip (which is the end of the wand) under the surface of the milk, turn it on, and lower the pitcher slowly. The trick of doing this is to try and avoid huge bubbles, which can be difficult to work with when doing latte art. When the pitcher starts to get warm, you’re good to pour. Don’t overheat it! It should be about 140 degrees.
To get rid of bubbles if they do happen, tap the bottom of the pitcher on the counter and then swirl.
3. Master the pour.
This is the most essential and difficult part of the process: learning how to pour latte art.
Begin with pouring in the center, until it’s about halfway up. Then, swirl the contents to mix everything. That’s your base.
Raising your pitcher up high will force the milk towards the bottom; lowering your pitcher will bring the milk toward the top – that’s where you get the striking white color! The speed of the pour is also an important factor. Usually art is done with gentle wiggles. More on that in the next section.
On Form: Keep in mind that you want to keep the handle of your cup and the handle of the pitcher perpendicular to eachother. The pouring pitcher’s handle should be parallel to your shoulders. Rely on you thumb more than your arm. When your arm is all over the place, that may result in rotation, which is important to control later on.
4. Practice.
There will be many failures and many bad attempts – be patient. Maybe invite some friends over to consume your delicious failures, as you shouldn’t drink too many that you get jittery. All art takes practice, and learning how to pour latte art is something done with experience and feel. Even qualified baristas that pour lattes every day sometimes have rough batches.
Starting Off : The Heart, The Rosetta, and the Tulip
The Heart: Start with the this one, as it’s the easiest and most important to master. The basic movements are this: lift the milk high and slow to create that important base, then go down while speeding up and doing that slight wiggle, then untilt, lifting the pour up to cut through the bottom of the heart. This goes really fast, so take your time to practice with water first!
The Rosetta: For the fern-like Rosetta, which is possibly the most recognizable piece of latte art, you use much of the same moves as the heart but add in quite a bit more wriggling. Create your base, then wriggle back and forth with a closer pour. Pour hard at the top. When you lift up, cut through the design. This is a favorite of baristas because it allows for some chaos and messiness, but is consistently beautiful when mastered.
The Tulip: In essence, the tulip is about three or four hearts with sharp breaks in between. Then, you finish with a line down the center as you do with the rosetta.
Here’s all three again done in this latte art tutorial that shows them all in super slow motion:
If you’re still struggling with these first three, know that that’s normal. But here are some common mistakes to keep an eye out for:
Leveling Up: The Swan, The Fish, and the Kangaroo
At this point, you should have the Rosetta and tulip pretty much mastered. Once you have them down, you can create pictures that people actually recognize.
The Swan: The swan is simply a Rosetta on the side connected with a long “neck” that ends in a heart. This one takes a great deal of patience and practice.
The Fish: The fish includes totally new territory: drawing on your latte with a stick or dowel! Basically, you create an unbroken tulip and then “draw” on an eye, bubbles, and a mouth.
The Kangaroo: This is for ridiculously adept people only! Create a good base, then, rotating the cup, create an unbroken tulip with a “head” and “tail.” The incredible artwork is then created with dowels dipped in your excess milk.
Your Power Level is Over 9,000: Sketching and Using Food Dyes
Now we’re getting beyond a normal how-to. Latte art can get ridiculously inventive an innovative. Using dowels dipped in excess milk, espresso, or chocolate syrups, people can create some amazing coffee art. Some latte artists also use food dyes to dye their milk and coffees and create artworks Vincent Van Gogh would be proud to sip from!
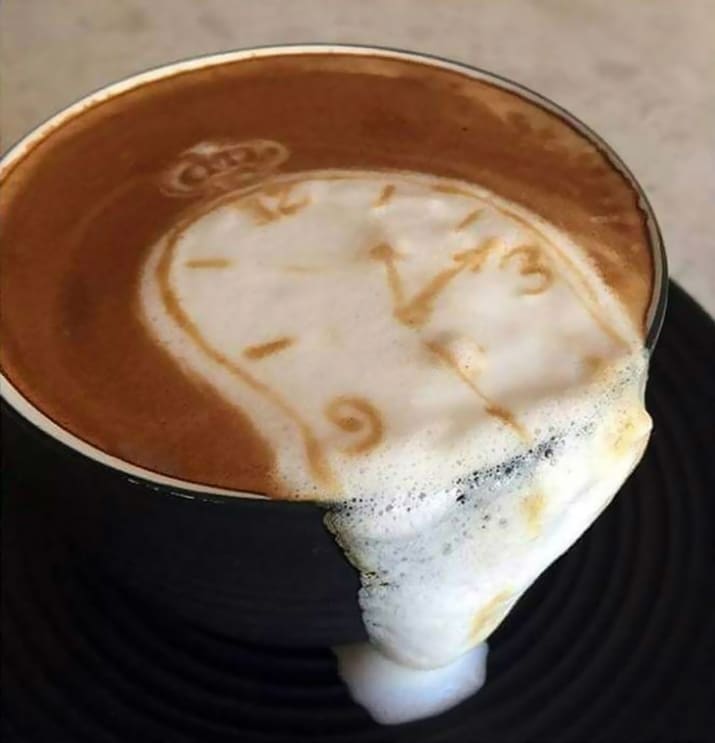
Here’s some latte art pics for extreme inspiration:
Hypnotic spiral
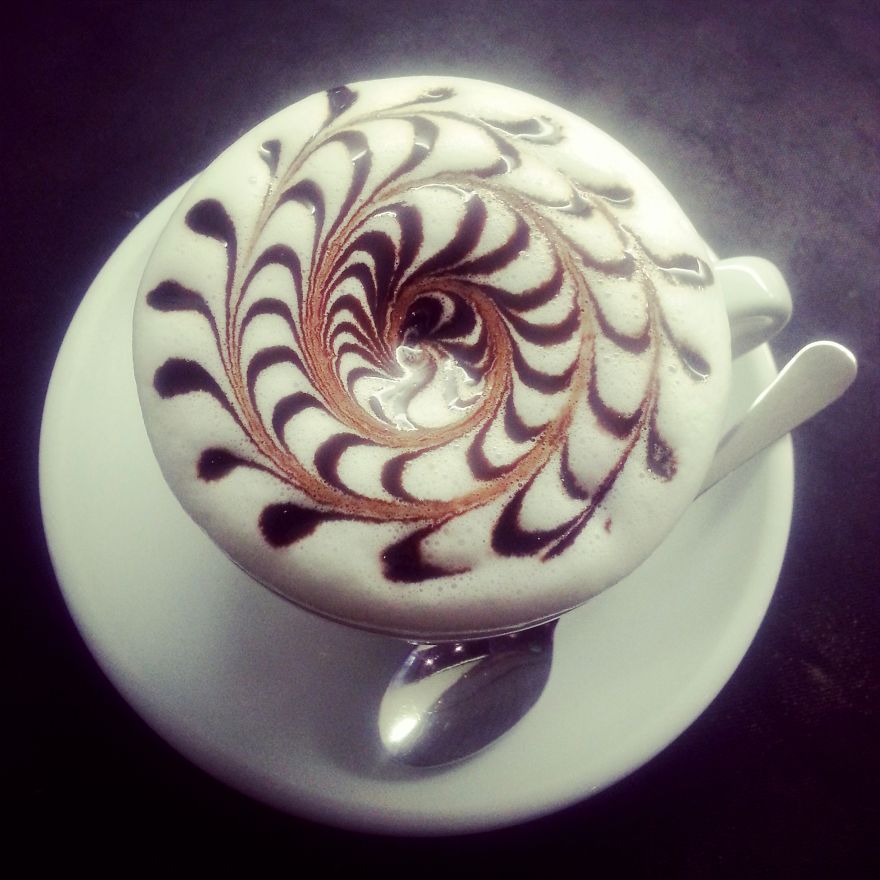 Source: Bored Panda
Van Goghfee
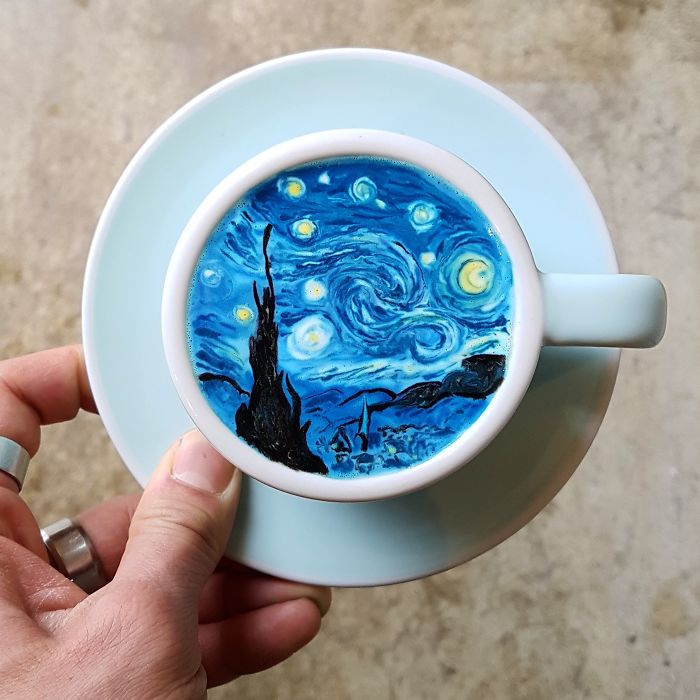 Source: Bored Panda
Leave a Reply